HANSA Safety and Rigging

N.C.S.C. Hansa/Access Dinghy Use 

NCSC Sailability authorises the use of 2 Hansa/Access Sailability dinghies. These dinghies are ideal for those who are challenged physically or would benefit from experiencing sailing in an extremely safe environment. 

  • These dinghies are not for general use and under no circumstances may be used without authorisation. In the first instance contact sailability@ncsc.org 
  • These dinghies require essential safety  to be followed prior to use. 
  • In all circumstances a practical demonstration of rigging will be given before being sailed for the first time. 
  • Particular attention is drawn to the use of the retaining pin for the centreboard. 


Essential Safety Recommendations 

Hansa Sailing craft are designed with a hull form and other features which combine to give considerable stability. There is a simple set of rules which should be followed to maintain the boats’ excellent safety record and prevent any accidents. The stability of Hansa Sailing craft relly upon the following: 


Centreboards 

It is most important that the centreboard be locked in the fully down position when sailing. The hole located one-third down the centreboard is to enable the short pin to be inserted laterally and facilitate movement of the boat with the centreboard inserted. 

Under no circumstances should the boat be sailed with the centreboard fixed in the raised position. There is a long pin provided to lock the centreboard fully lowered so that even in a “knock down” it remains in place. 


Seating 

Because the placement of sailors’ weight affects stability it is important that people 

remain seated low in the boat. If a sailor needs support from strapping, use only 

quick release Velcro TM straps to secure a sailor in place. 


Reefing 

Being a displacement type hull, the use of full sail area in strong winds does not mean more speed but does make the boat more difficult to manage. In fresher breezes it is recommended to reef to suit the stronger gusts. 


Towing 

If a 303 needs to be towed on the water by a safety boat, it is safer and easier to tie the boat close alongside and remove the rudder blade so that it cannot be steered in the wrong direction. 


How to Rig a 303 Wide

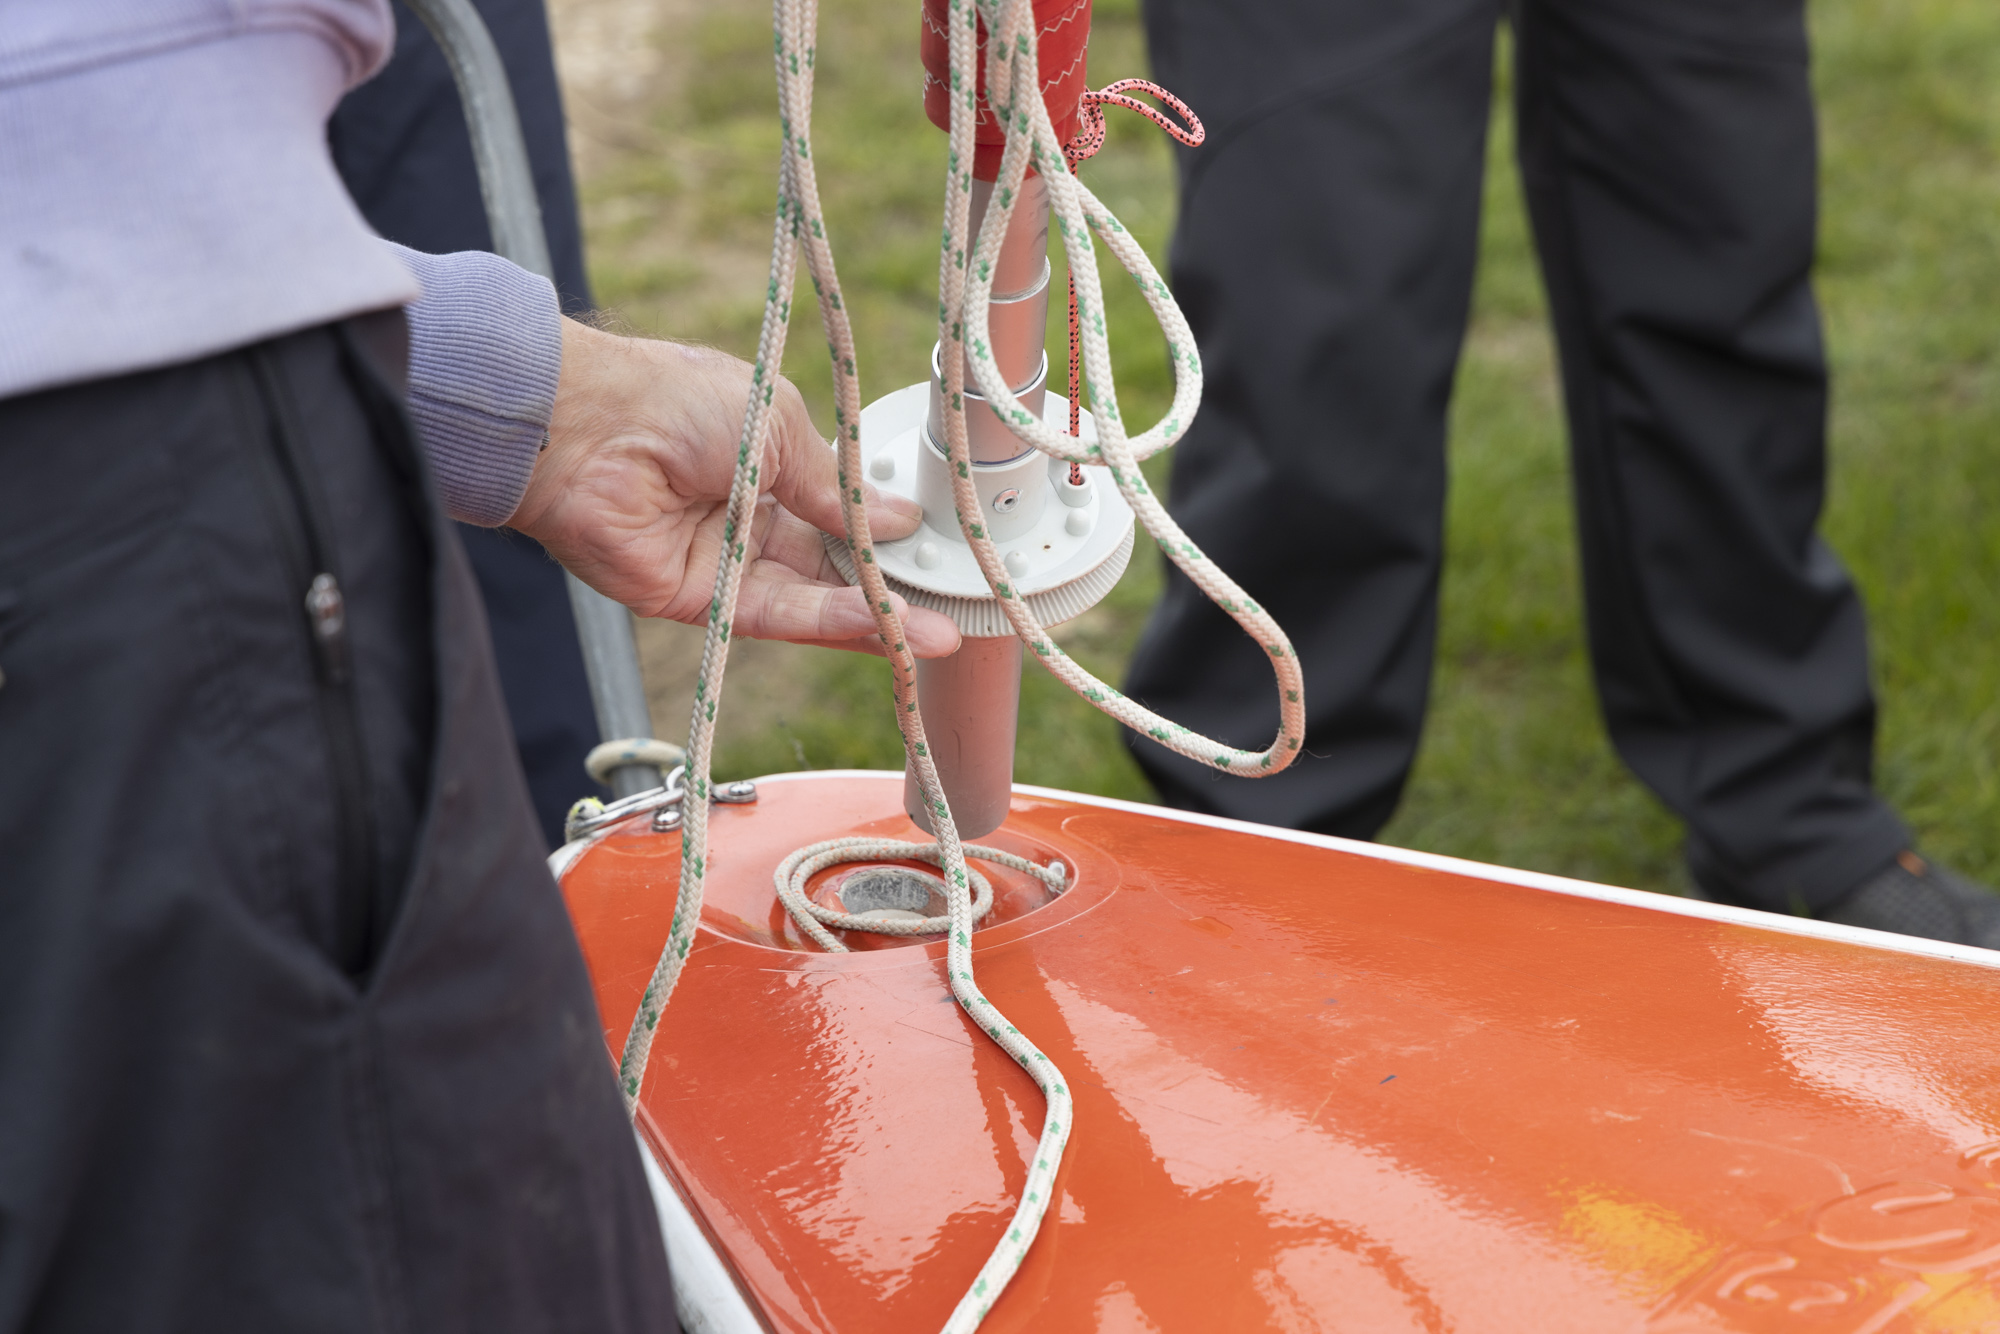
SETTING UP

Place the hull on a soft surface well clear of any overhead wires and facing toward the wind 

STEPPING THE MAIN MAST

  1. Ensure the mainsail (inner) reefing line knot is positioned as far forward as it will go on the port (left) side (see top photo – do this with both cords – one is jib one is main)
  2. Loosen the knob under the console on the reefing drum (see bottom two photos)
  3. Insert the tip of the mast with the wedge fitting into the mainsail luff pocket and slide thesail on to the mast until it reaches the top 
  4. Slide the bobbin on to the bottom of the mast with the larger diameter flange uppermost 
  5. Lash the bobbin to the tack eye of the mainsail 
  6. Carefully lower the mast through the console collar, making sure the foot fitting is firmly located in the mast step on the cockpit floor
  7. Tighten the knob to lock the reefing drum onto the mast 

FITTING THE BOOM 

  1. The boom should be kept tidy with no loose ends trailing 
  2. Untie and sort out the two ropes (mainsheet and outhaul) 
  3. Push the rowlock at the front end of the boom onto the bobbin 
  4. Take the outhaul ring which runs along the boom and shackle it onto the clew (corner) of the sail 
  5. Pull the sail out to the boom end by pulling the outhaul line and cleat it on the starboard(right) side of the boom 
  6. Take the mainsheet block and shackle it onto the traveller line which runs across at the stern of the boat (ensuring the mainsheet is not twisted) 
  7. Take the other end of the mainsheet after it passes through the inboard boom block, pass it through the block on the forward end of the console so that it runs aft 
  8. Tie a Figure 8 to act as a stopper knot at the end of the mainsheet 

STEPPING THE FOREMAST 

  1. Ensure the jib (outer) reefing line knot is positioned as far forward as it will go on the port(left) side (see top photo on stepping main mast)
  2. If required (ie to much tension on cords) unhook the headsail reefing line shock cord from the saddle underneath the seat (lift the fabric seat to see this) don’t forget to reattach before going on the water.
  3. Set up the reefing line on the bow in a loose loop so it can complete a full turn around the foremast reefing drum (see photo – loop exactly as shown for it to work correctly)
  4. Insert the tip of the foremast into the jib luff pocket and slide the sail on to the mast until it reaches the top, ensuring that the tack eye is on the same side of the mast as the saddle on the reefing drum 
  5. Lash the bobbin tack eye to the saddle on the reefing drum 
  6. Step the mast with the sail leading aft and fit the reefing line around the drum 
  7. Re-attach the reefing line shock cord to the saddle underneath the seat (if removed)
  8. Secure the two sheets to the clew of the jib then through the fairleads and cleats on theport and starboard sides, making sure the sheets lead forward of the mainmast 
  9. Tie a Figure 8 as a stopper knot in the end of each jib sheet 
  10. Position the fairleads towards the aft end of the track for a full sail

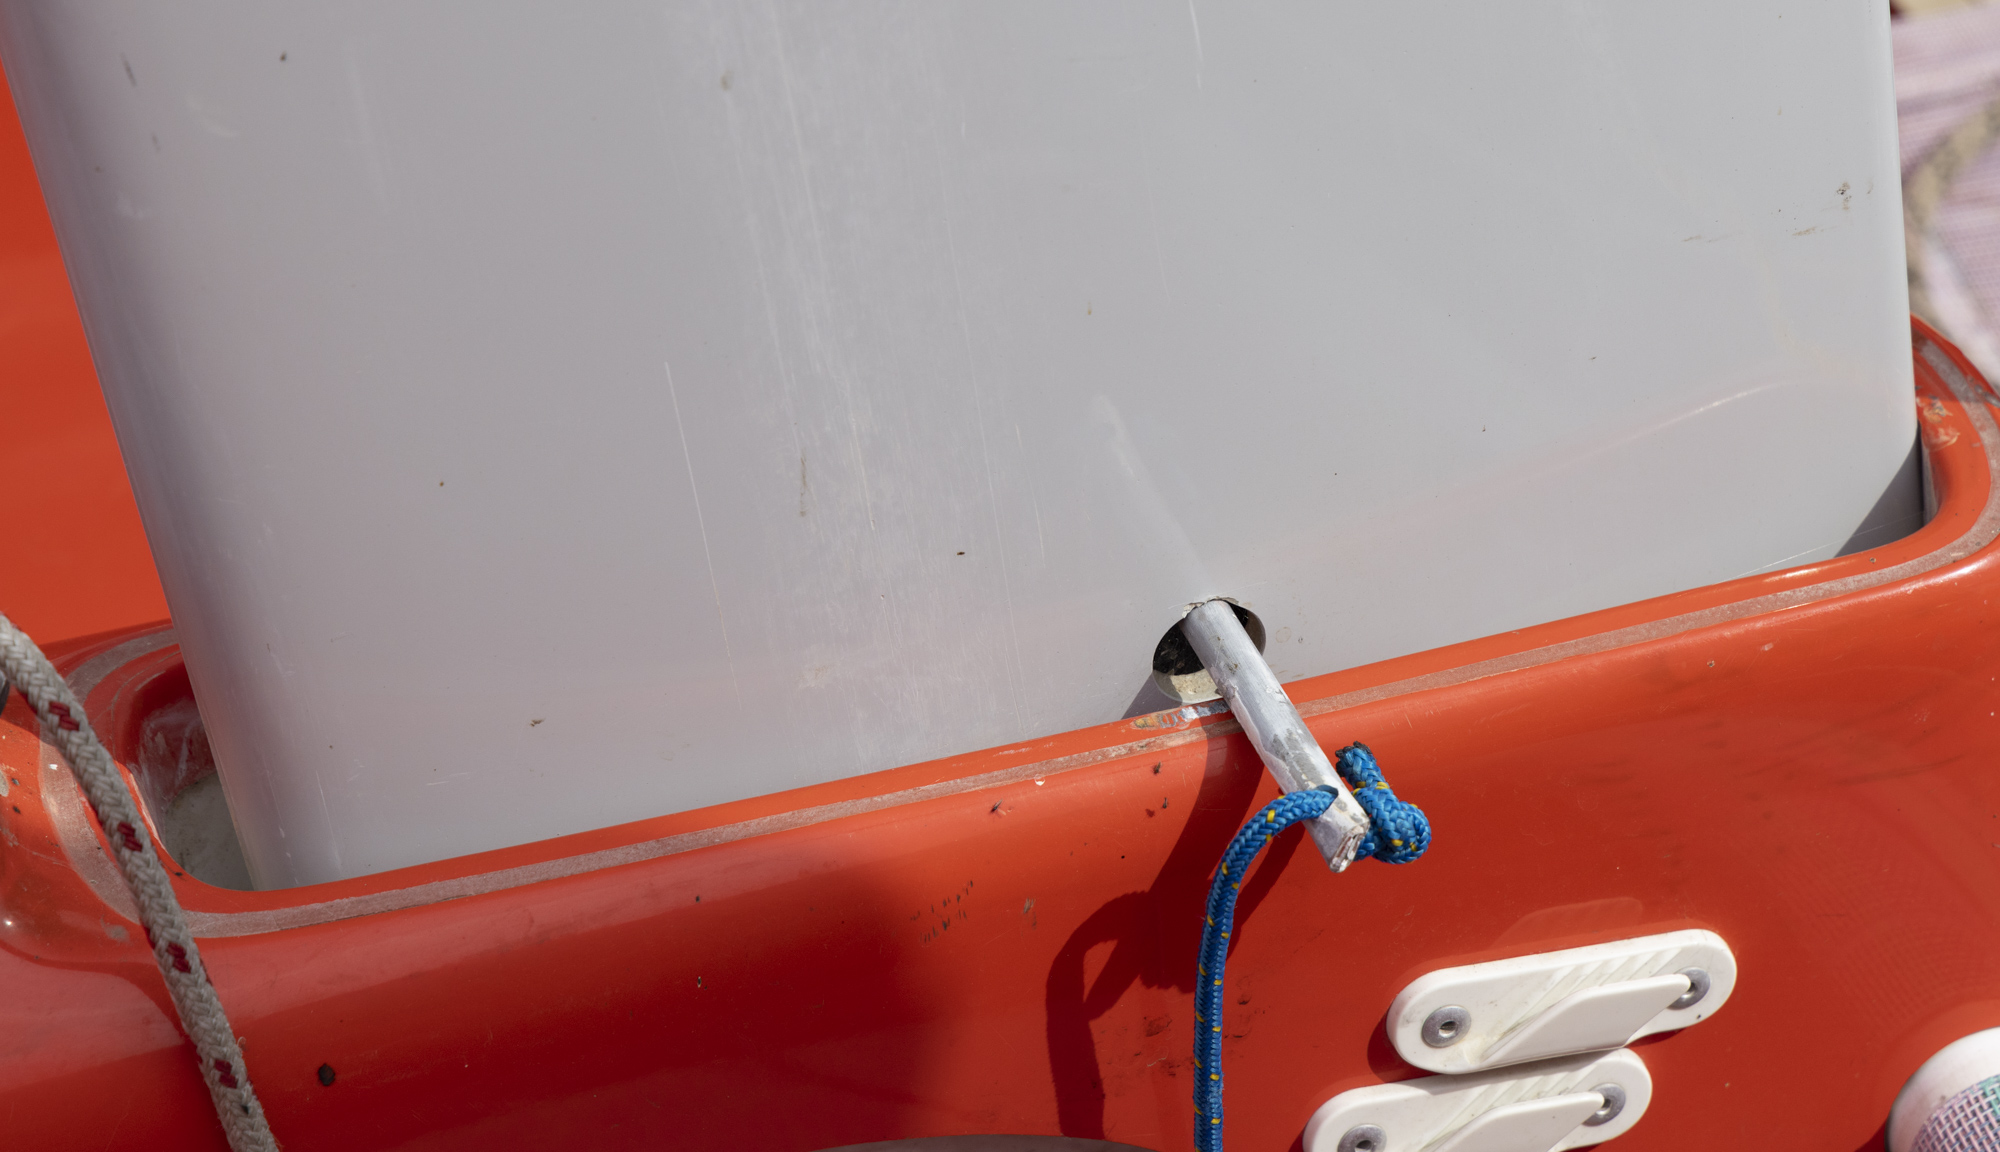
REEFING THE MAINSAIL (shortening sail) 

  1. You can put one complete turn of sail around the mast without adjusting the outhaul 
  2. With the outhaul un-cleated on the boom and the outhaul ring free to travel, pull on the port reefing line to reduce sail area 
  3. Replace the reefing line in the cleat on the port side of the centreboard case 4.Haul on the outhaul and re-cleat on the boom
  4. Release the reefing line cleat, then pull the starboard line to increase sail area 6.Replace the reefing line in the cleat on the port side of the centreboard case 7.Haul on the outhaul and re-cleat on the boom 
  5. In light to moderate breeze, it is best not to flatten the sail along the boom but allow enough slack to form a gentle curve about 10cm from the boom

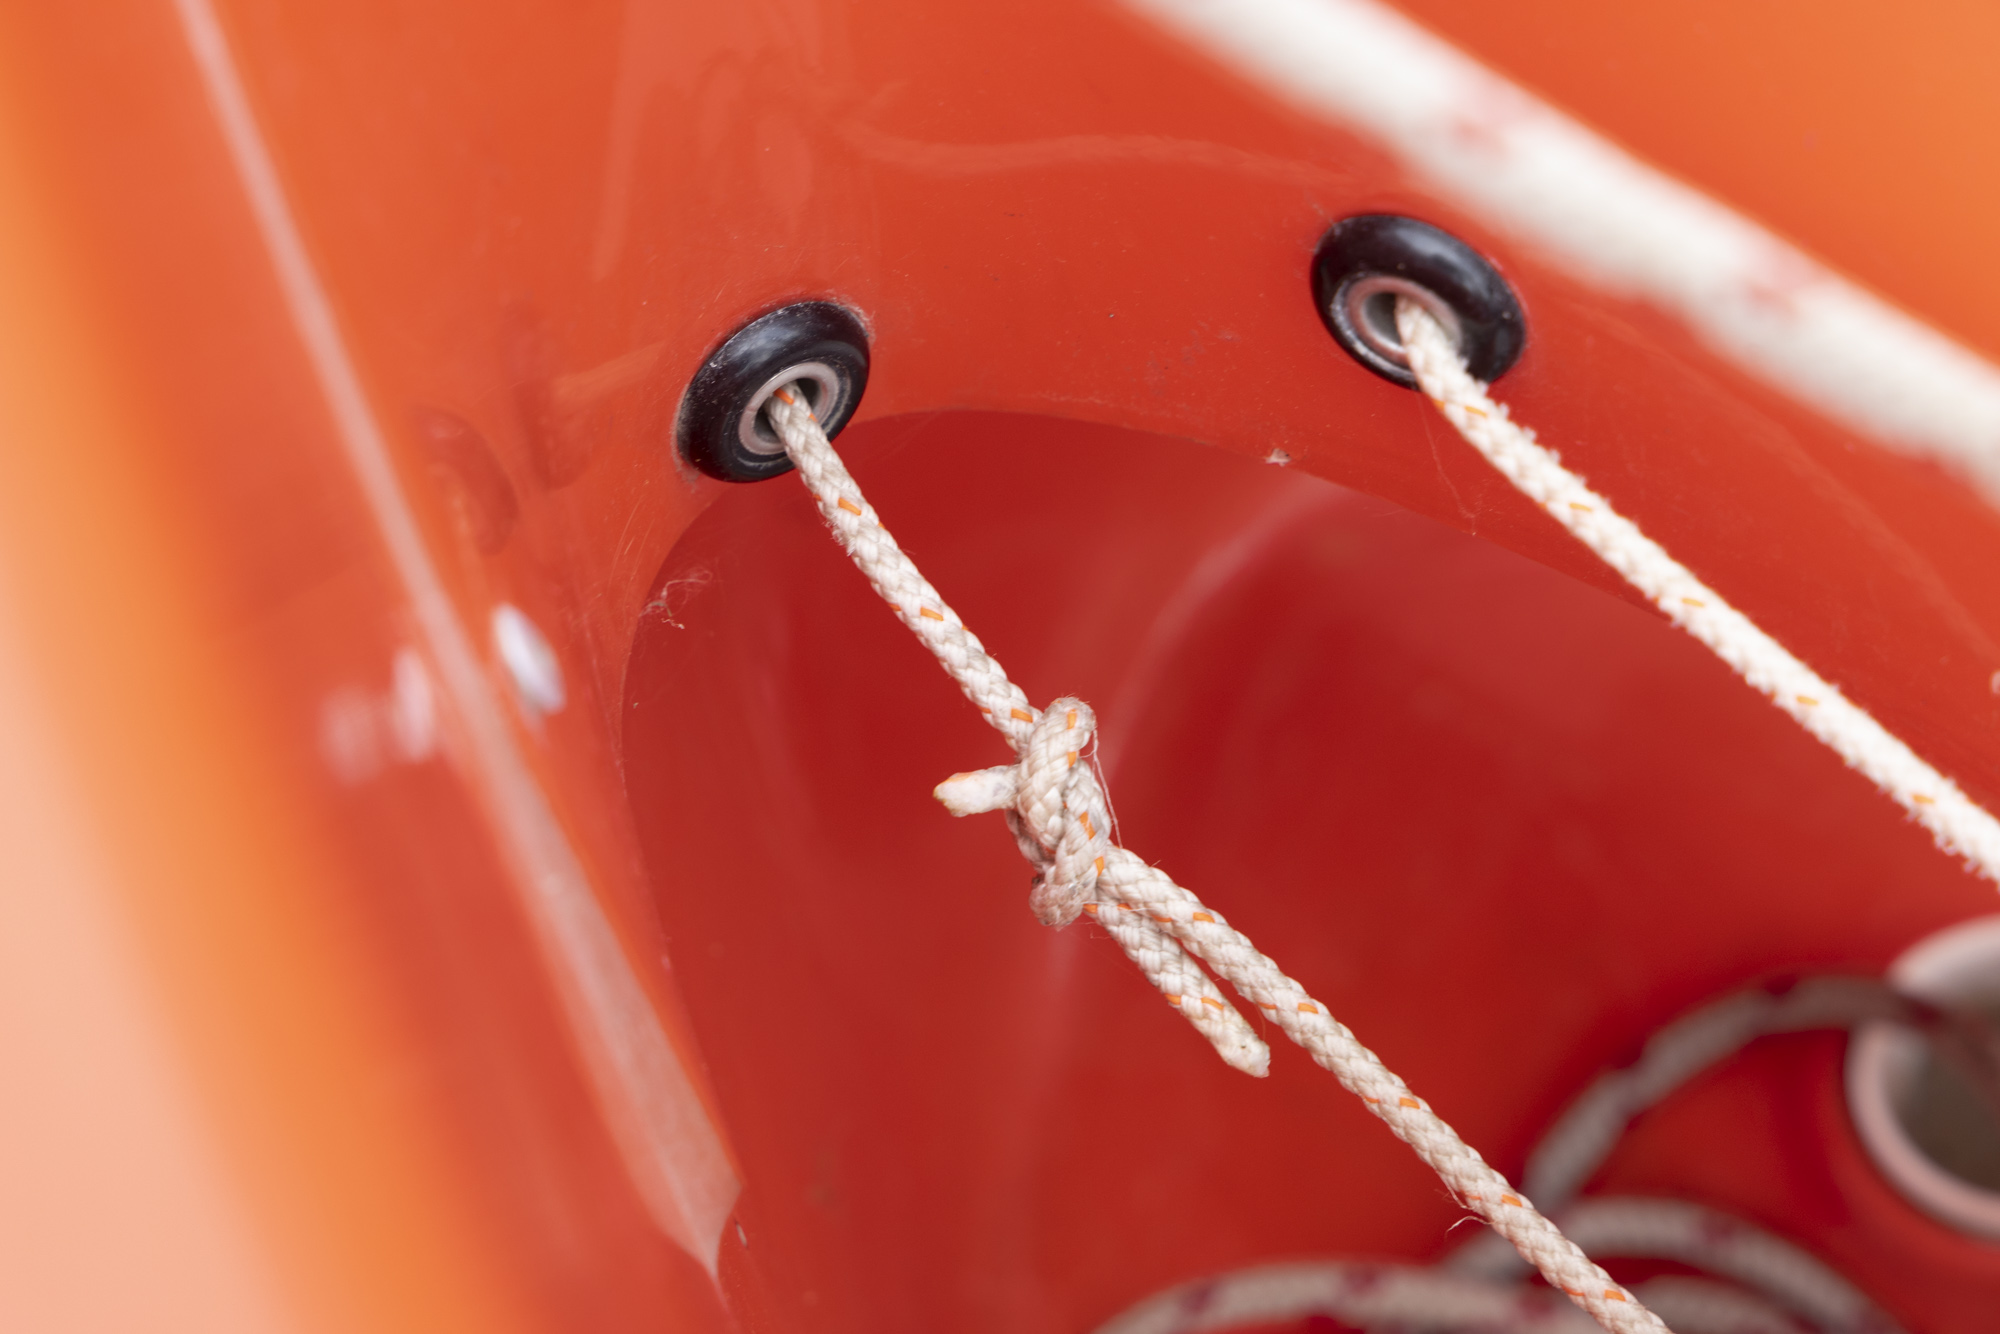
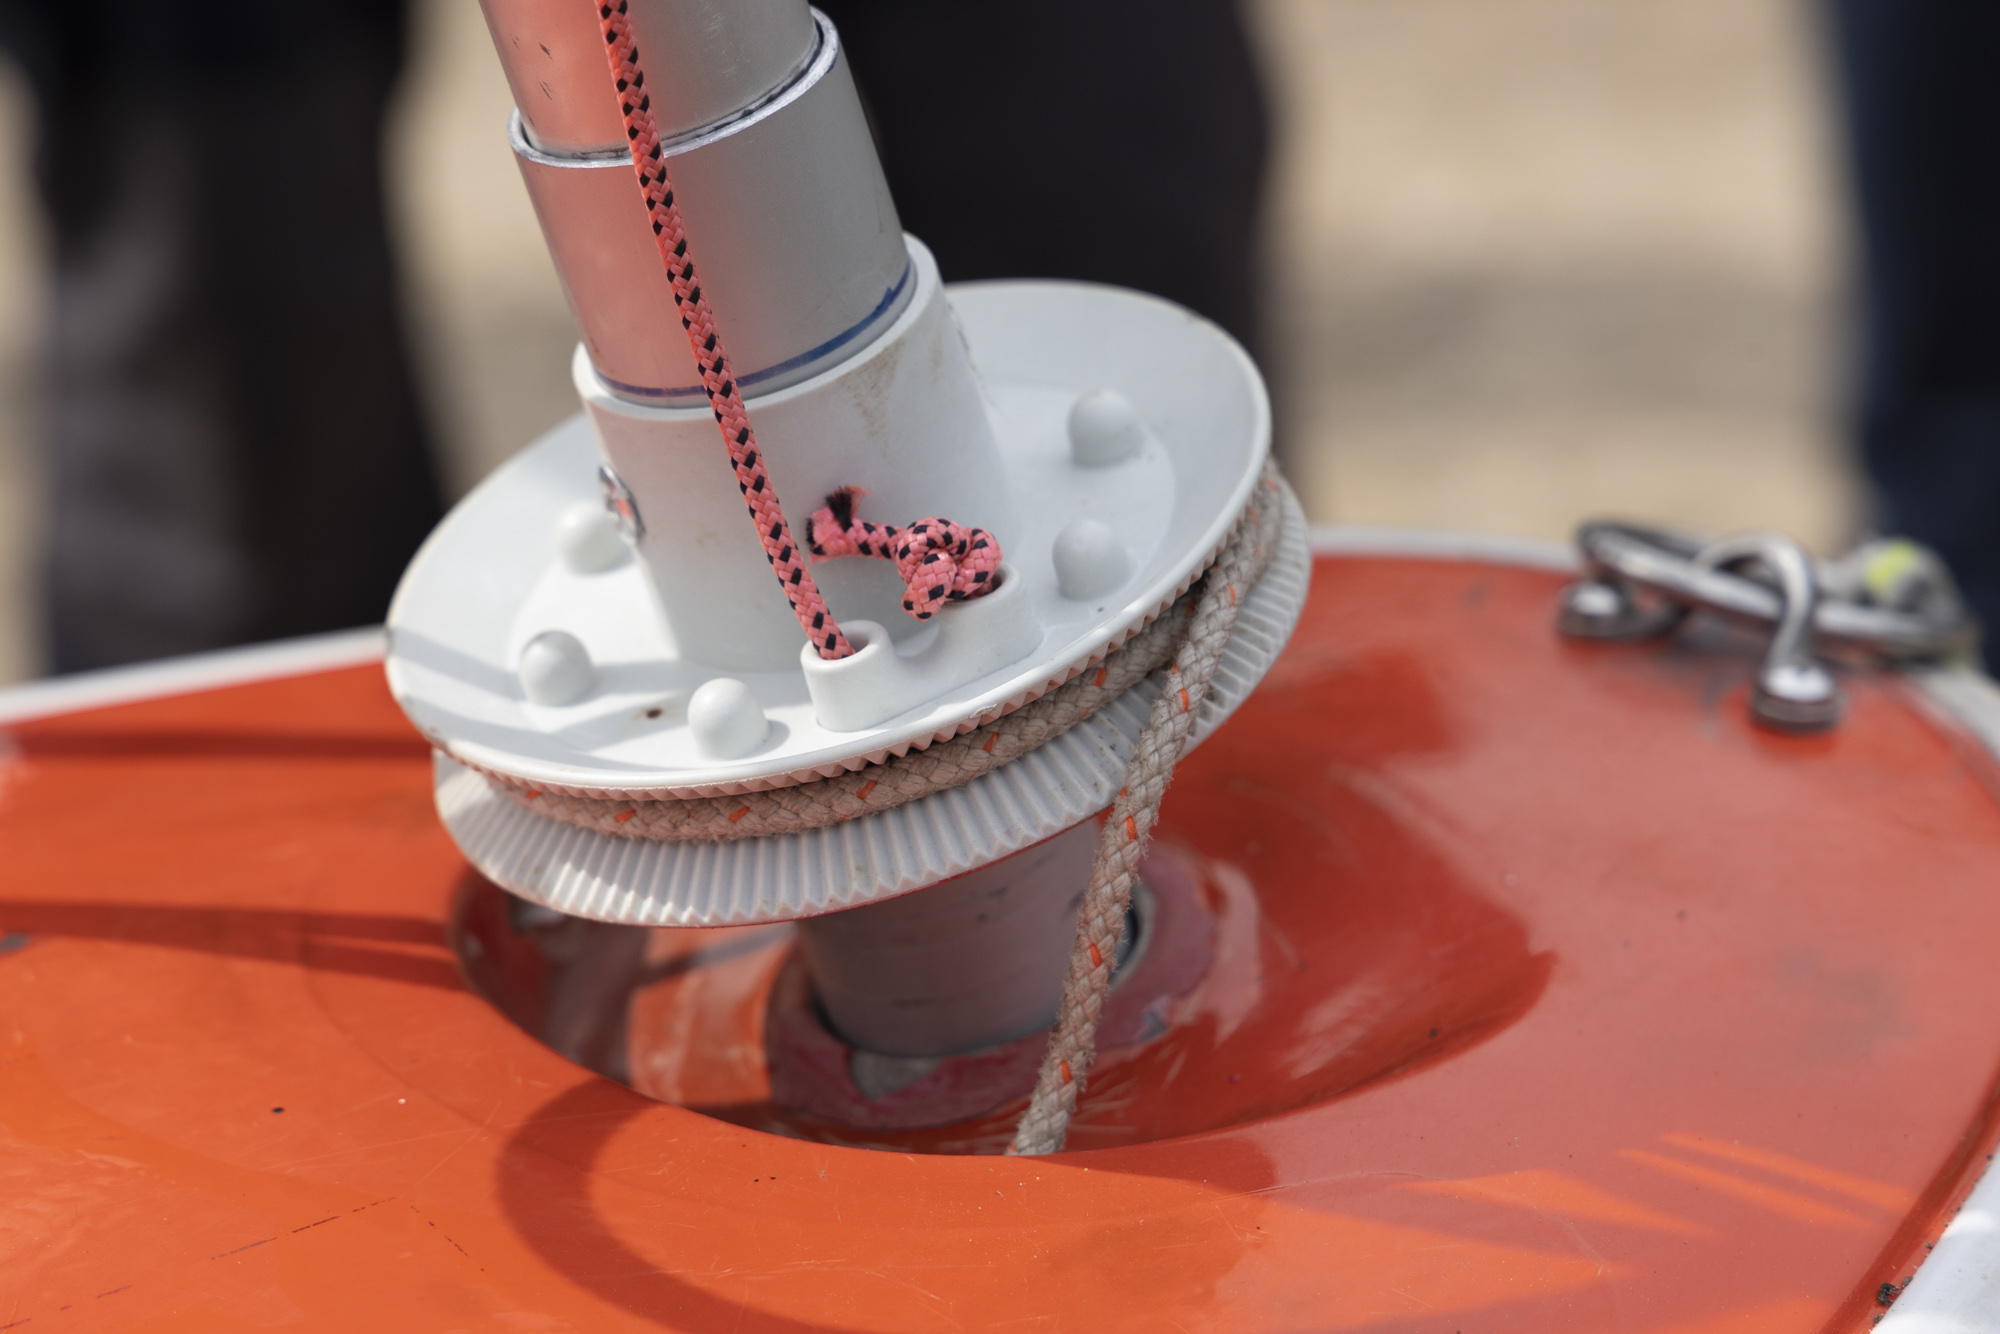
Note: Never pull and push both sides of the reefing lines at once as this can disconnect the reefing line from the drum, however it is often easier to reef before launching.
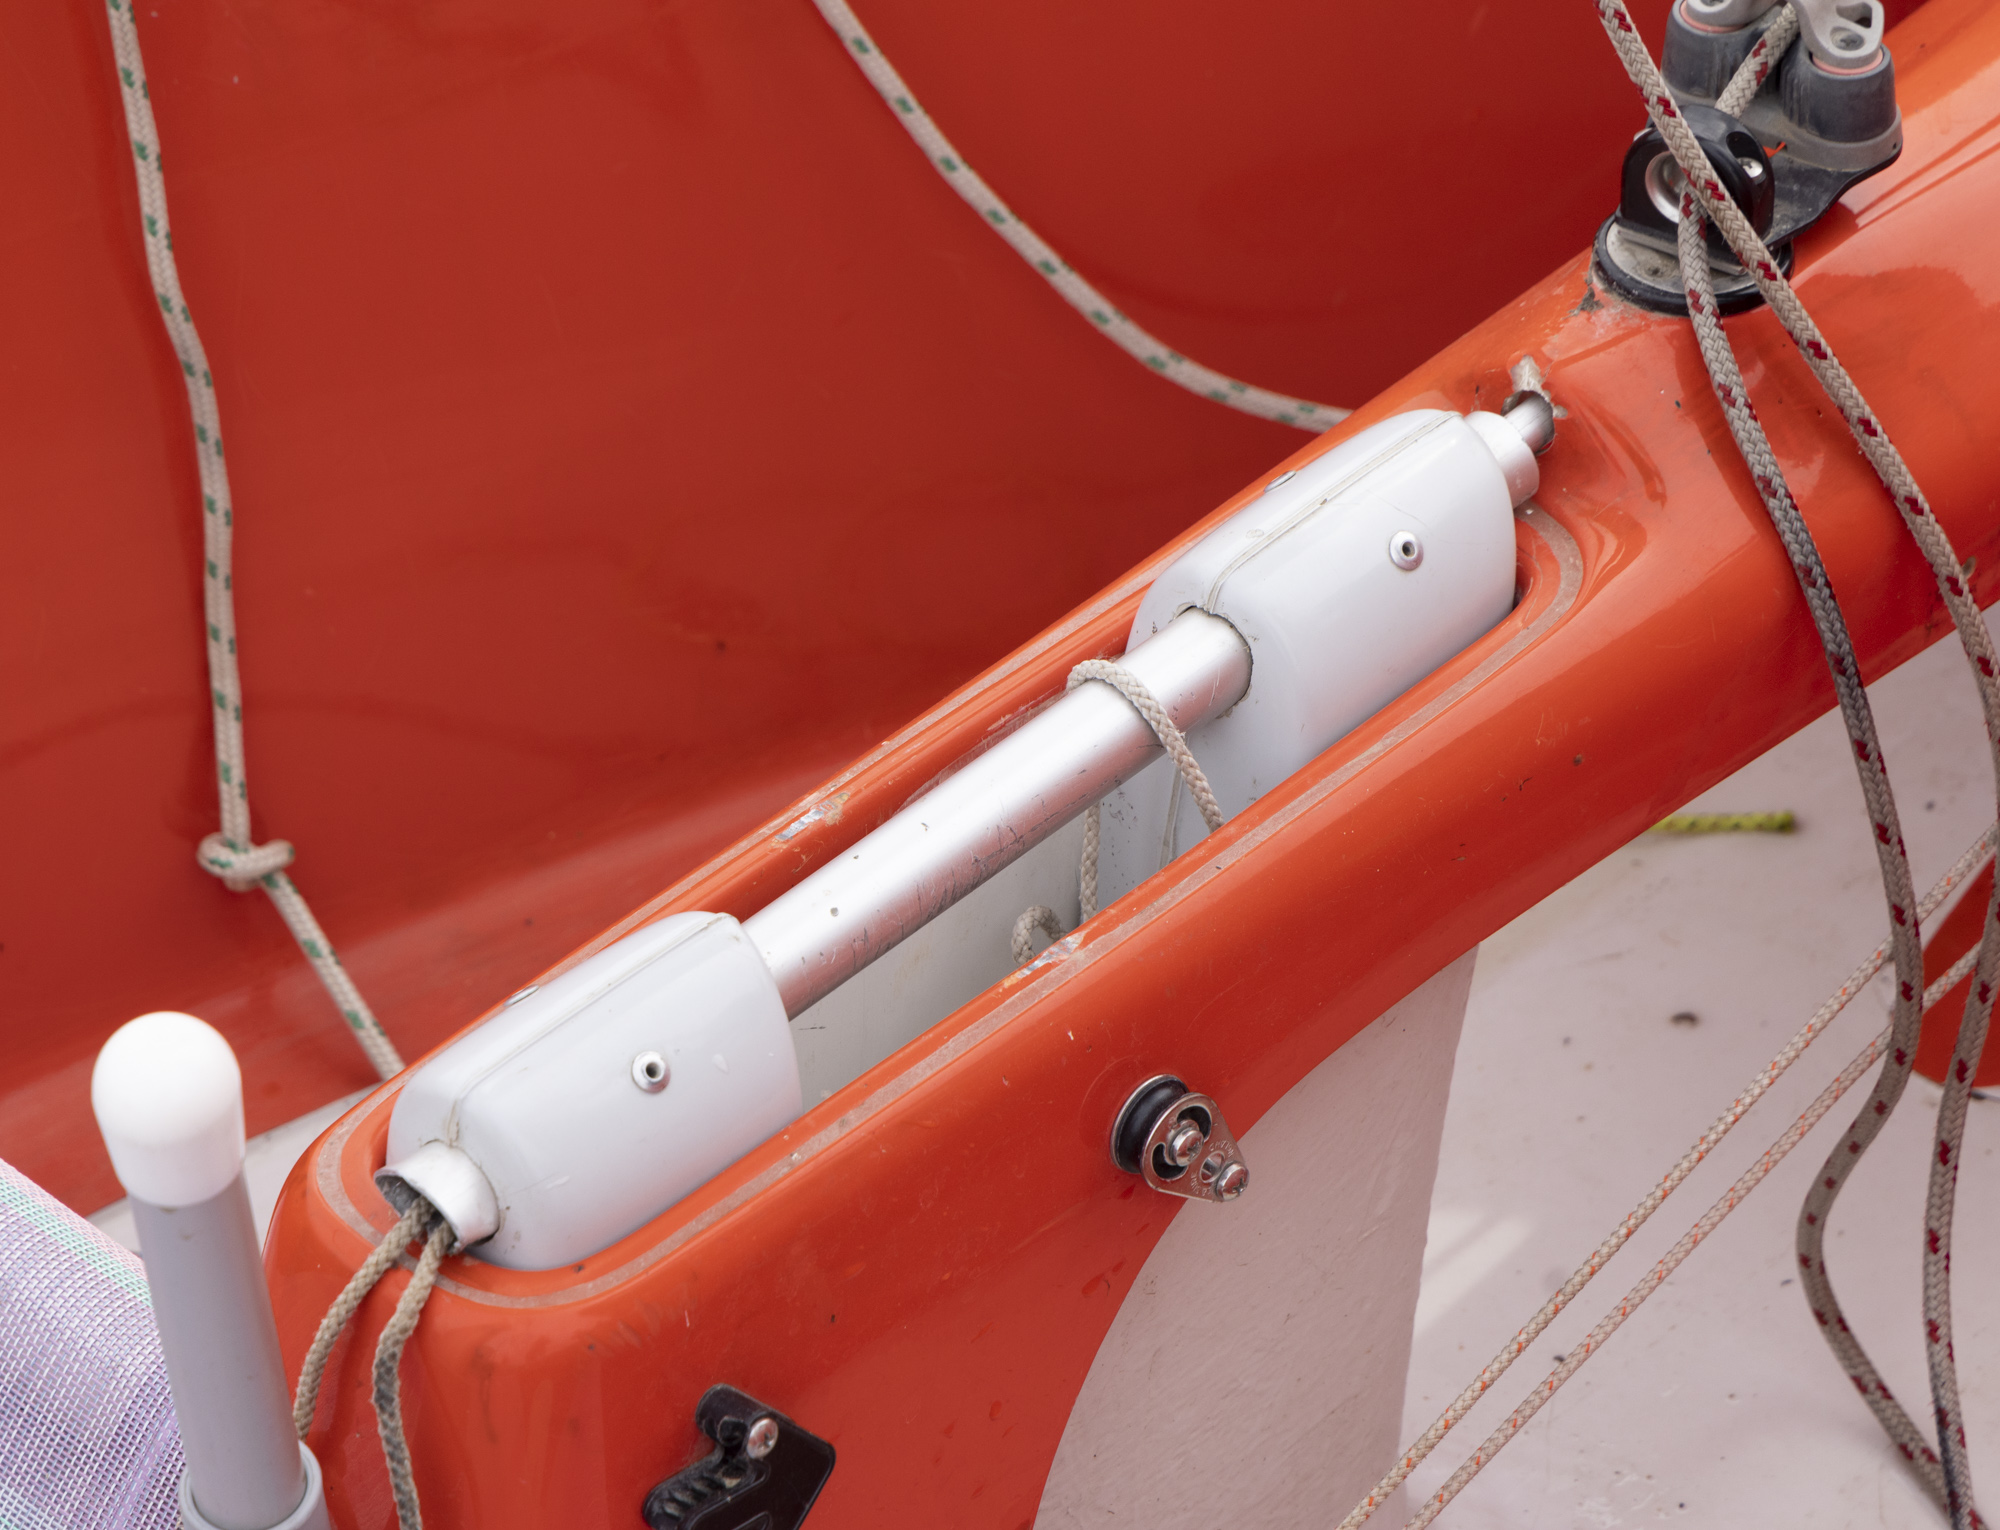
 

REEFING THE JIB

  1. Un-cleat the jib sheets before reefing 
  2. Haul on the port reefing line to reef
    Haul on the starboard reefing line to un-reef 
  3. Always secure the reefing line in the cleat on the port side of the console after reefing or un-reefing 
  4. Move the sheet fairleads forward on the tracks when sailing with a reefed jib 

Note: Never pull and push both sides of the reefing lines at once 


STEERING 

  1. Ensure the steering lines pass under the groove in the base of the joystick holder 2.Fit the rudder box, making sure the rope traveller is above the tiller 
  2. Remove the spring clip and pass the clevis pin up through the hole at the inboard end of the tiller. Re-insert the clip 
  3. Fit the alloy joystick 


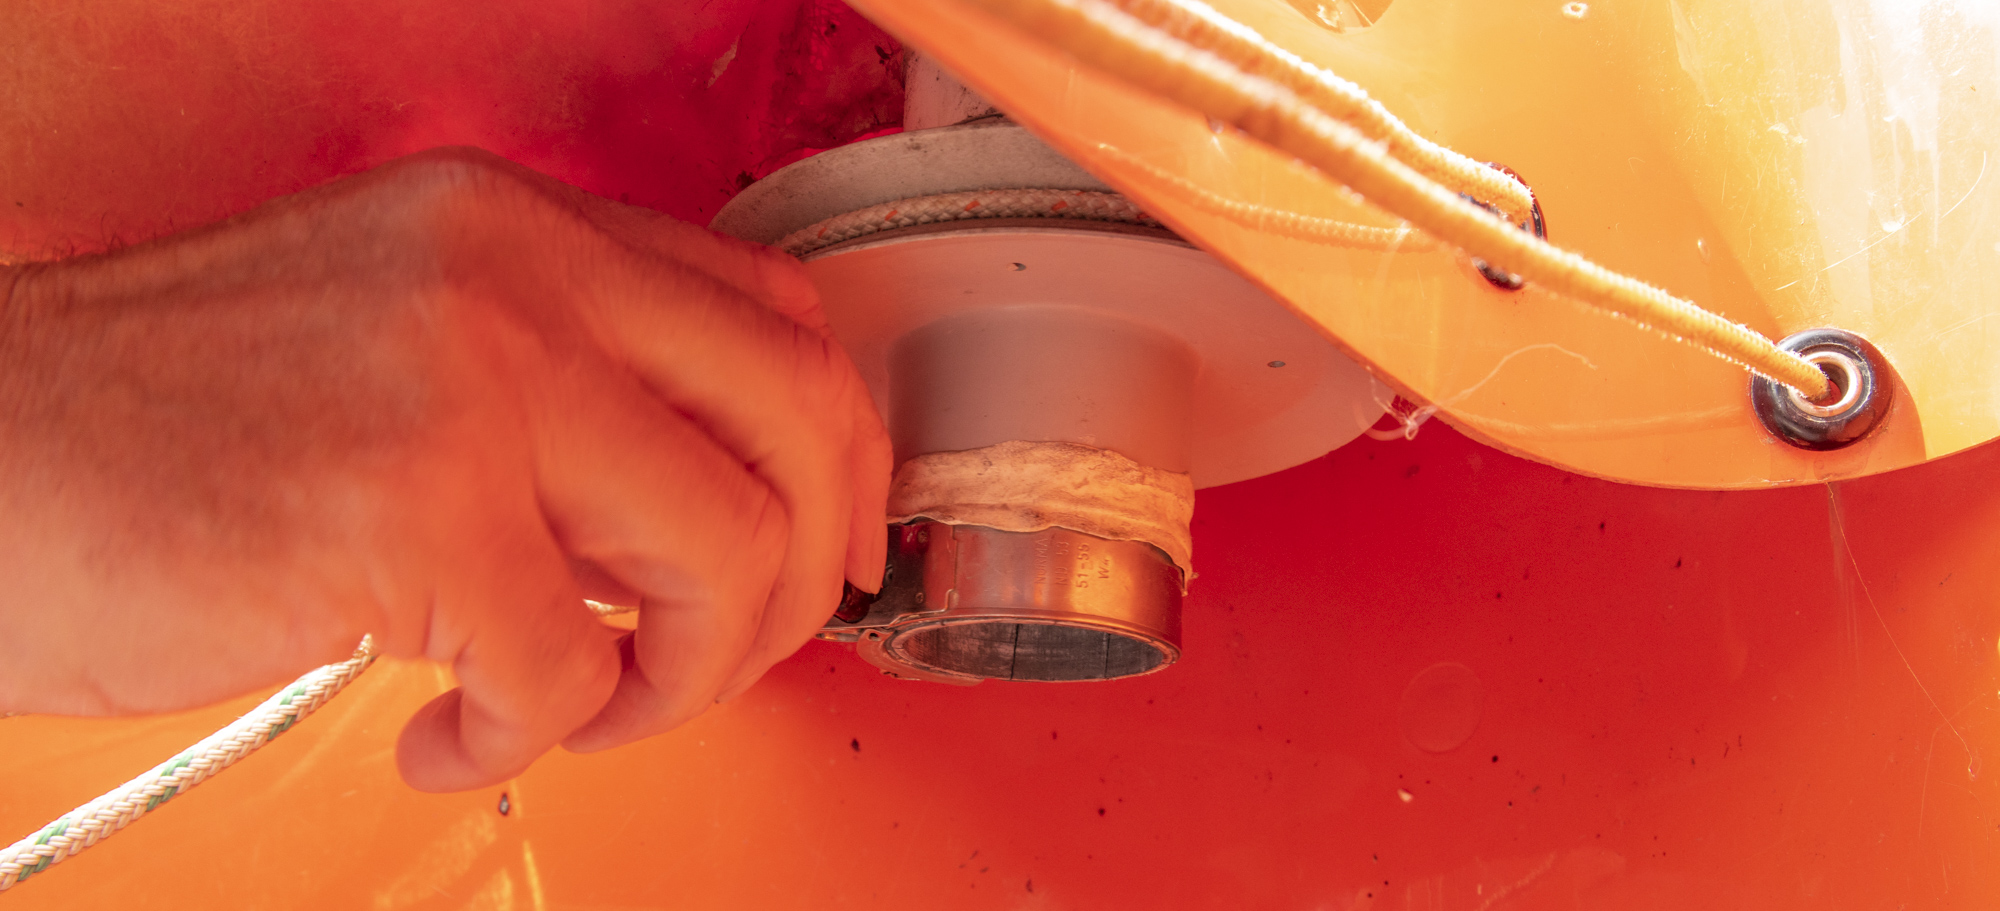
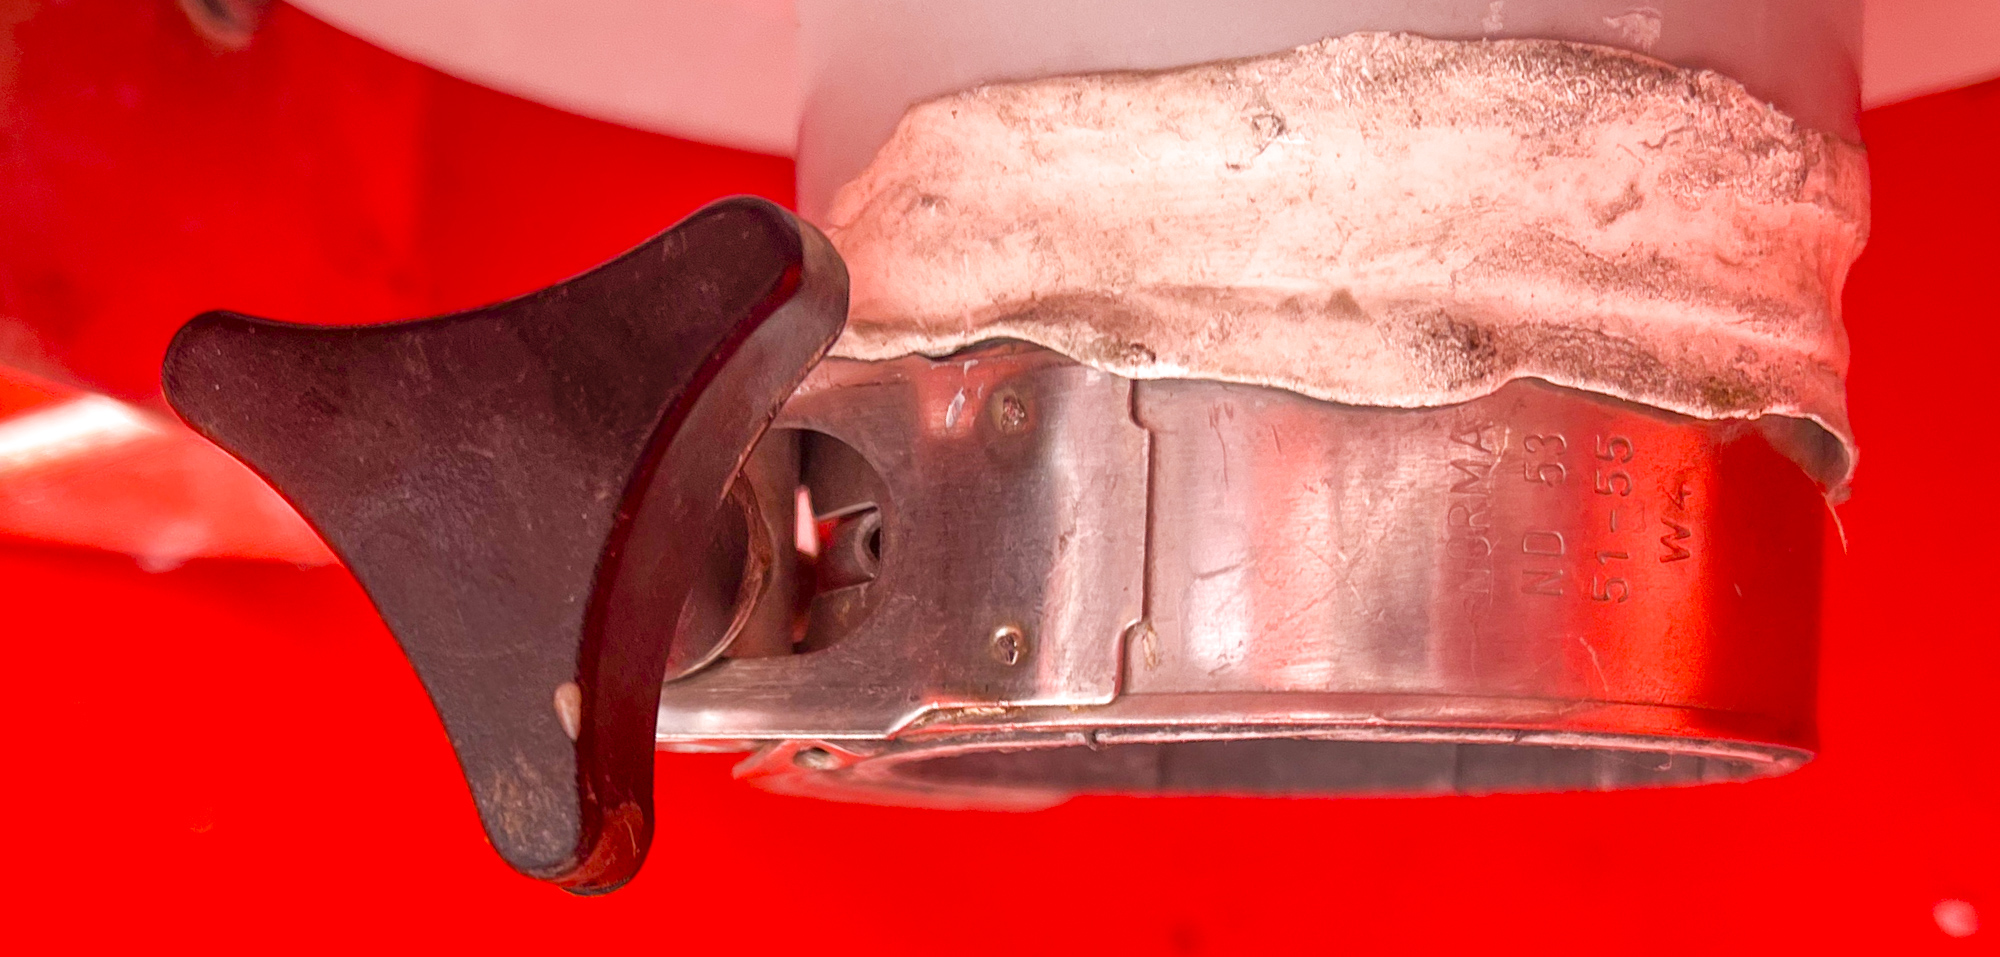
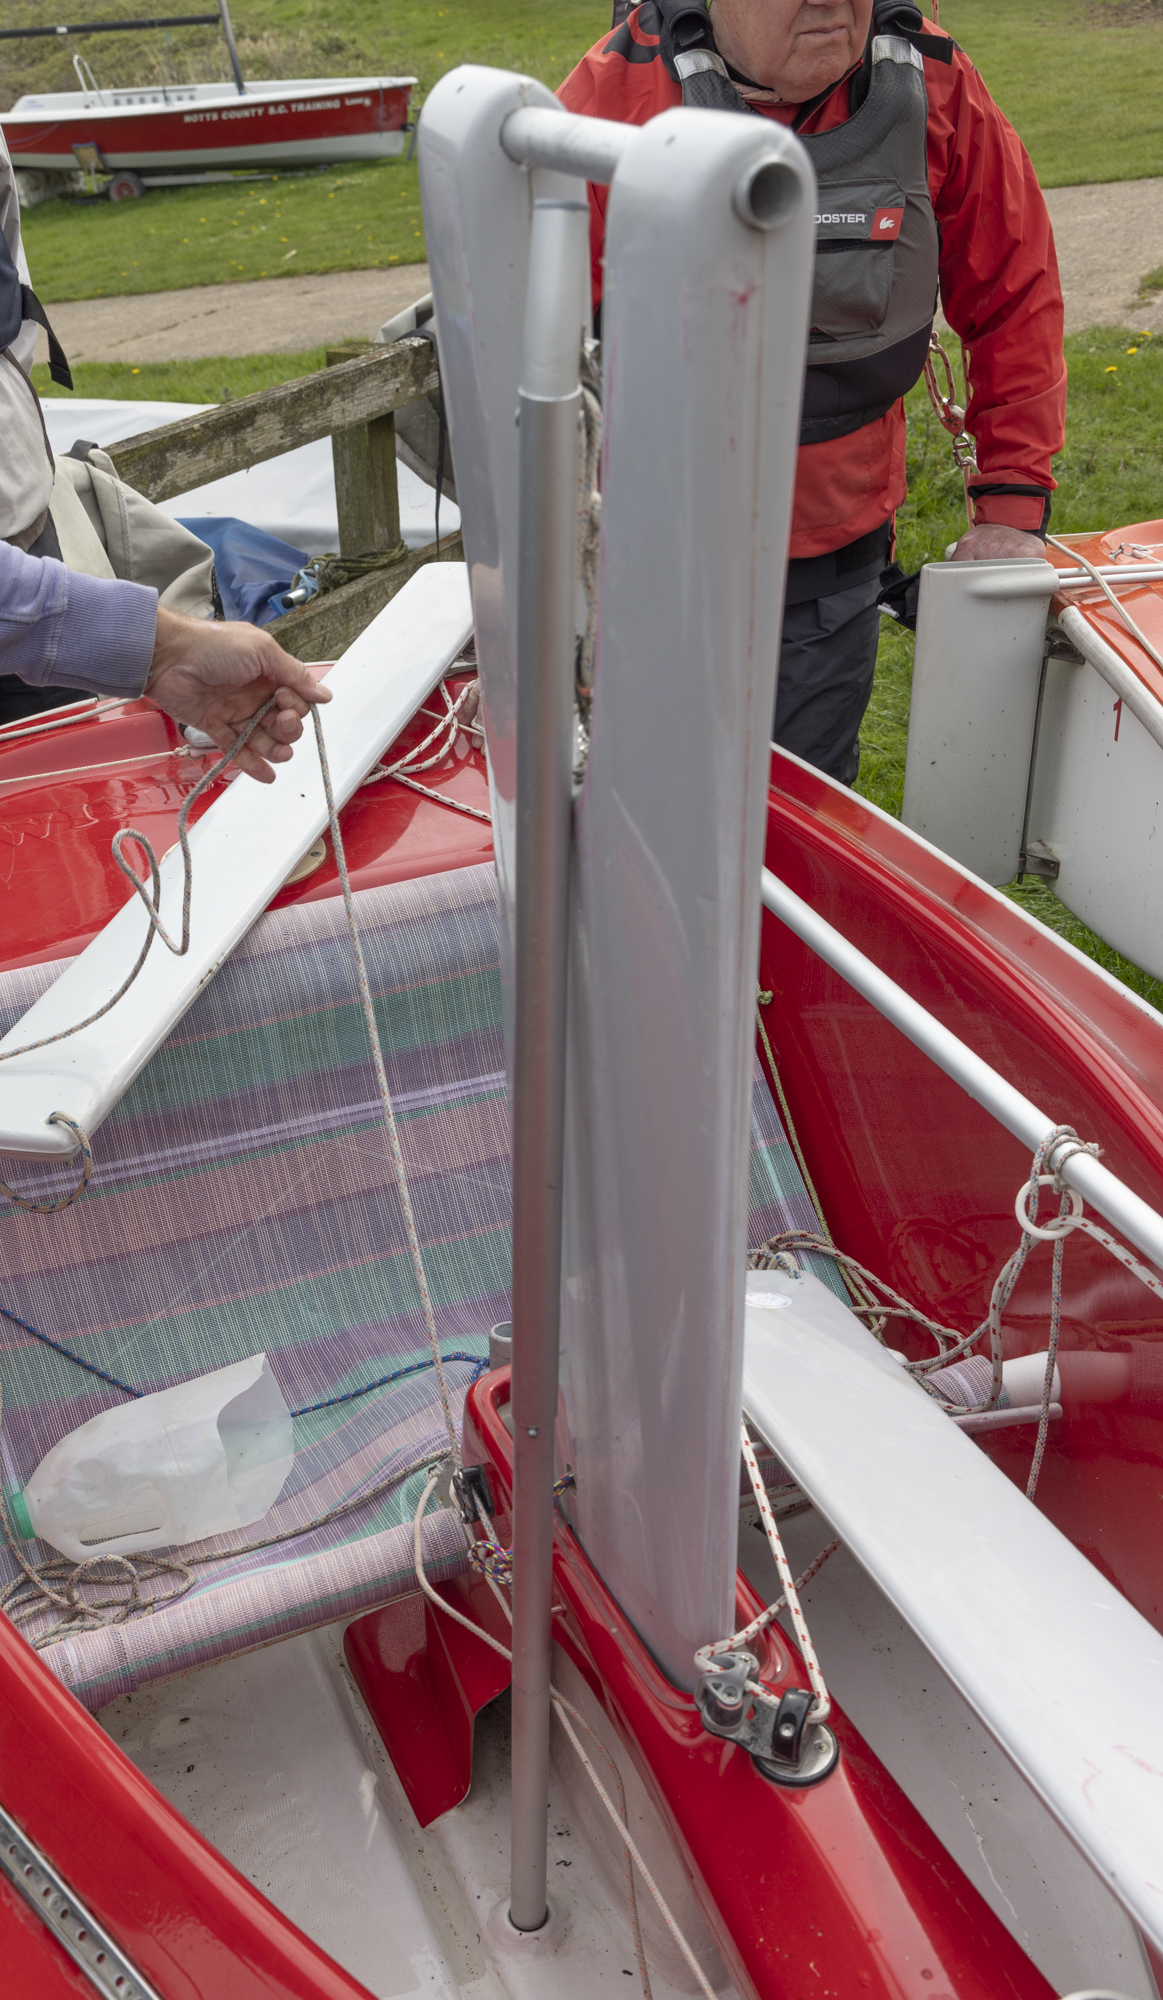
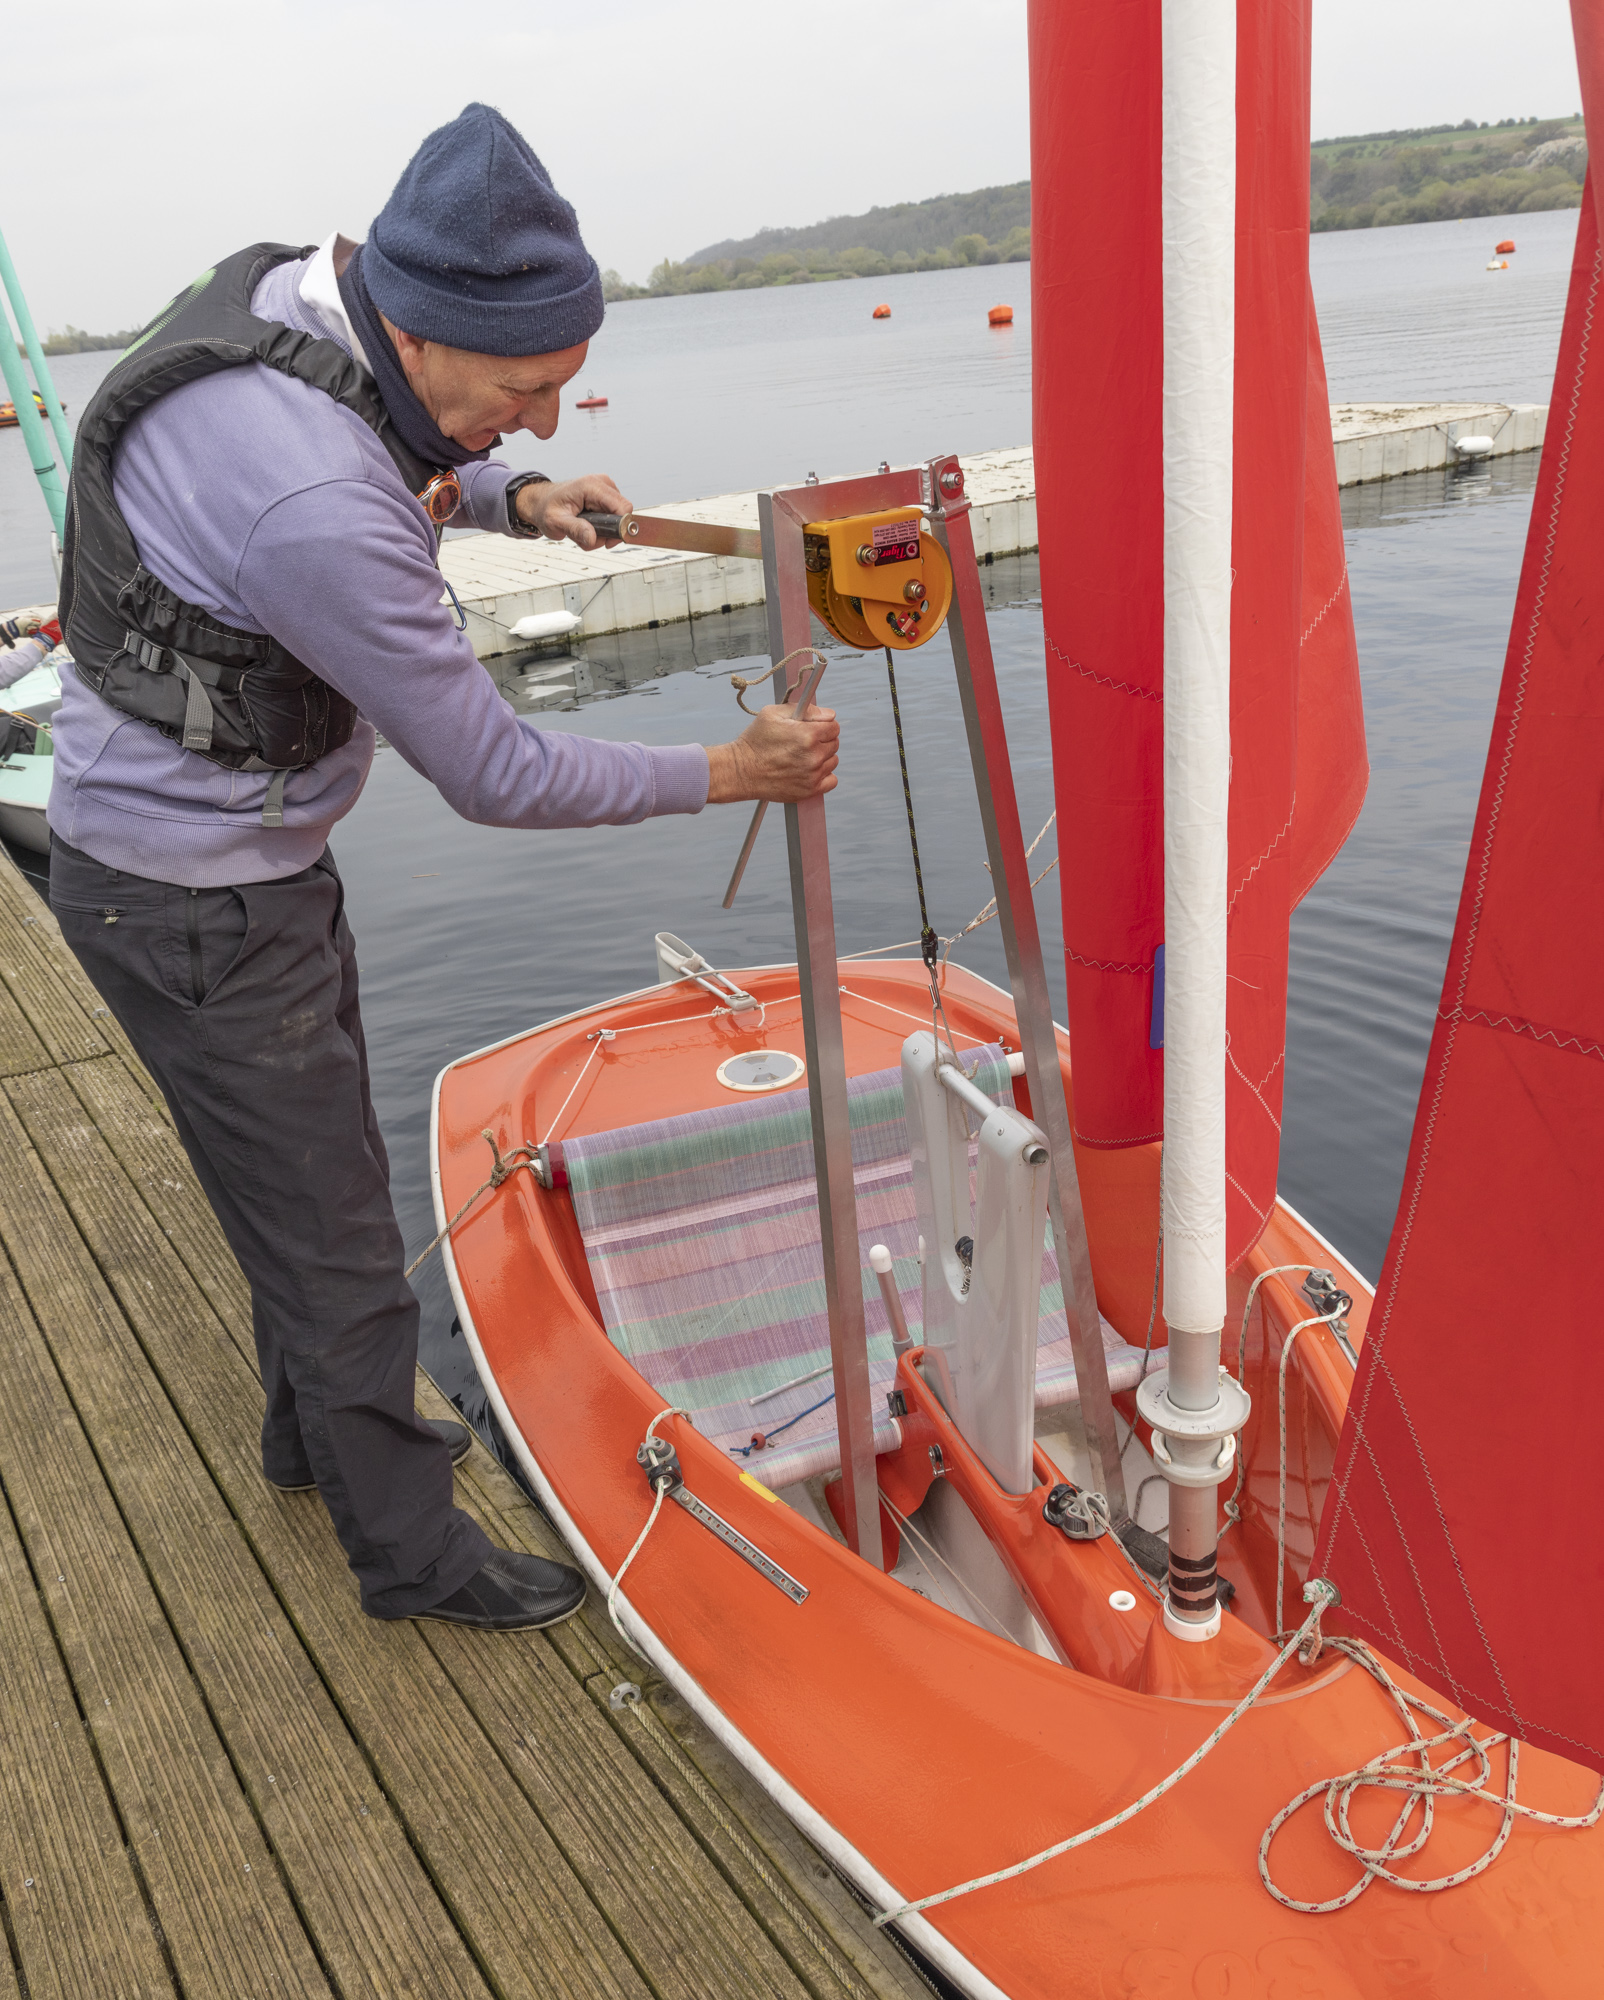
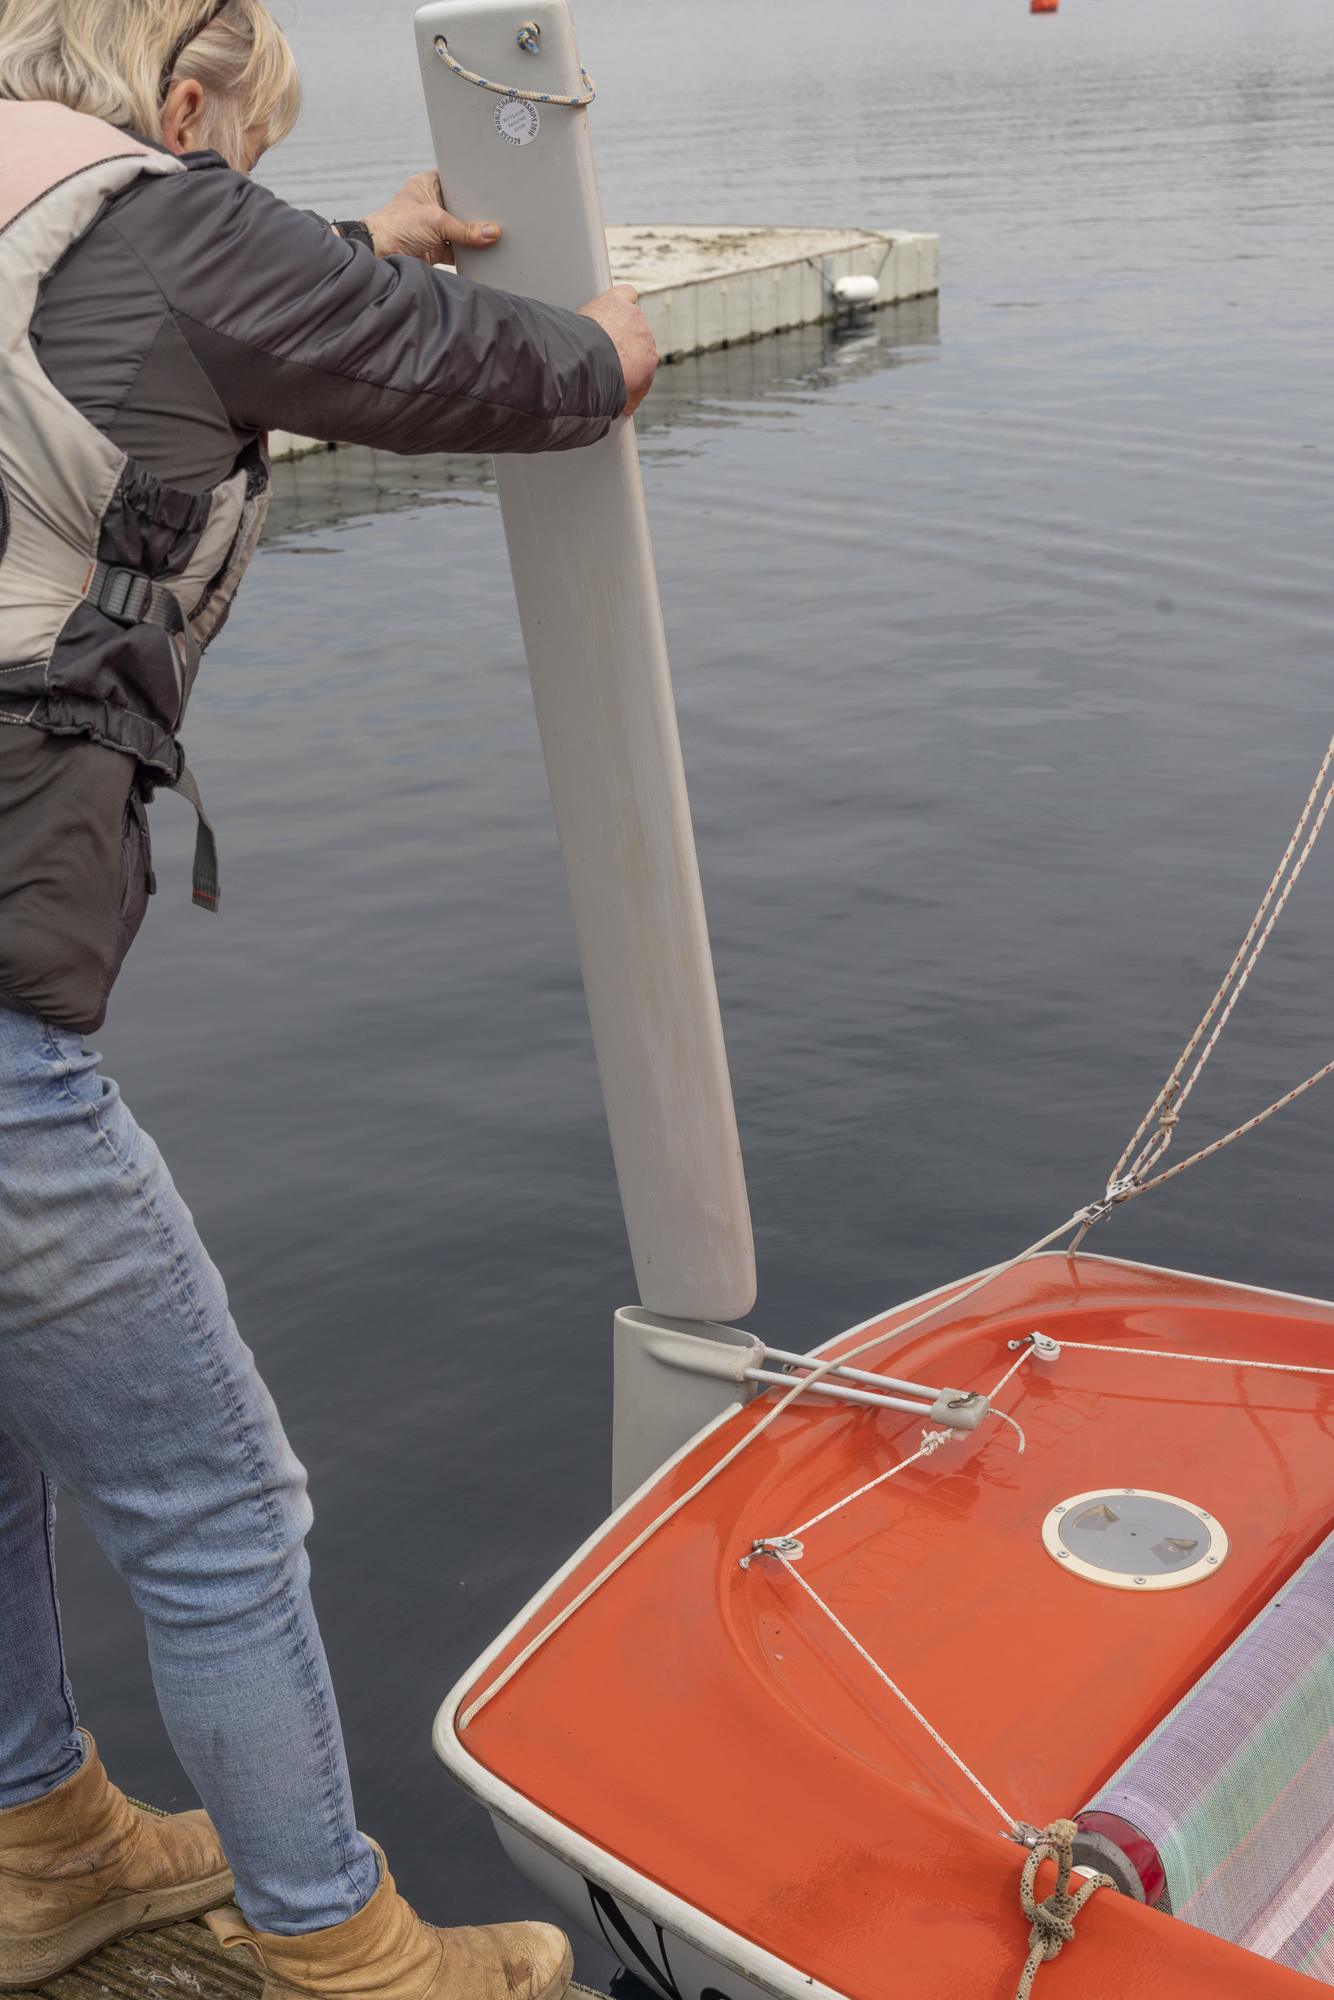
There are two methods of lowering the “daggerboard”  1) the upright pole (see top photo adjacent) or the winch (second photo opposite)

Fit one or other method of lowering the “daggerboard” before launching, it is suggested you remove the pin at waters edge as you must not get in the boat until the daggerboard is in down position and locked.


LAUNCHING 

  1. Pass the tow-line (painter) through the guide ring at the bow and fasten it around the mast with a bowline (a knot which is always easy to untie)
  2. Use the short alloy tube to pin the centreboard up when moving the boat around ashore (bottom photo adjacent)
  3. Pin the centreboard in the half-way position if you need to move the boat around in shallow water (though this shouldn’t be necessary generally if launching at pontoons)
  4. Make sure the winch/pole is taking the weight of the board and remove the short pin (bottom photo), gently lower the centreboard into its fully down position. This must be done before getting in the boat (ie from pontoon as in photo)


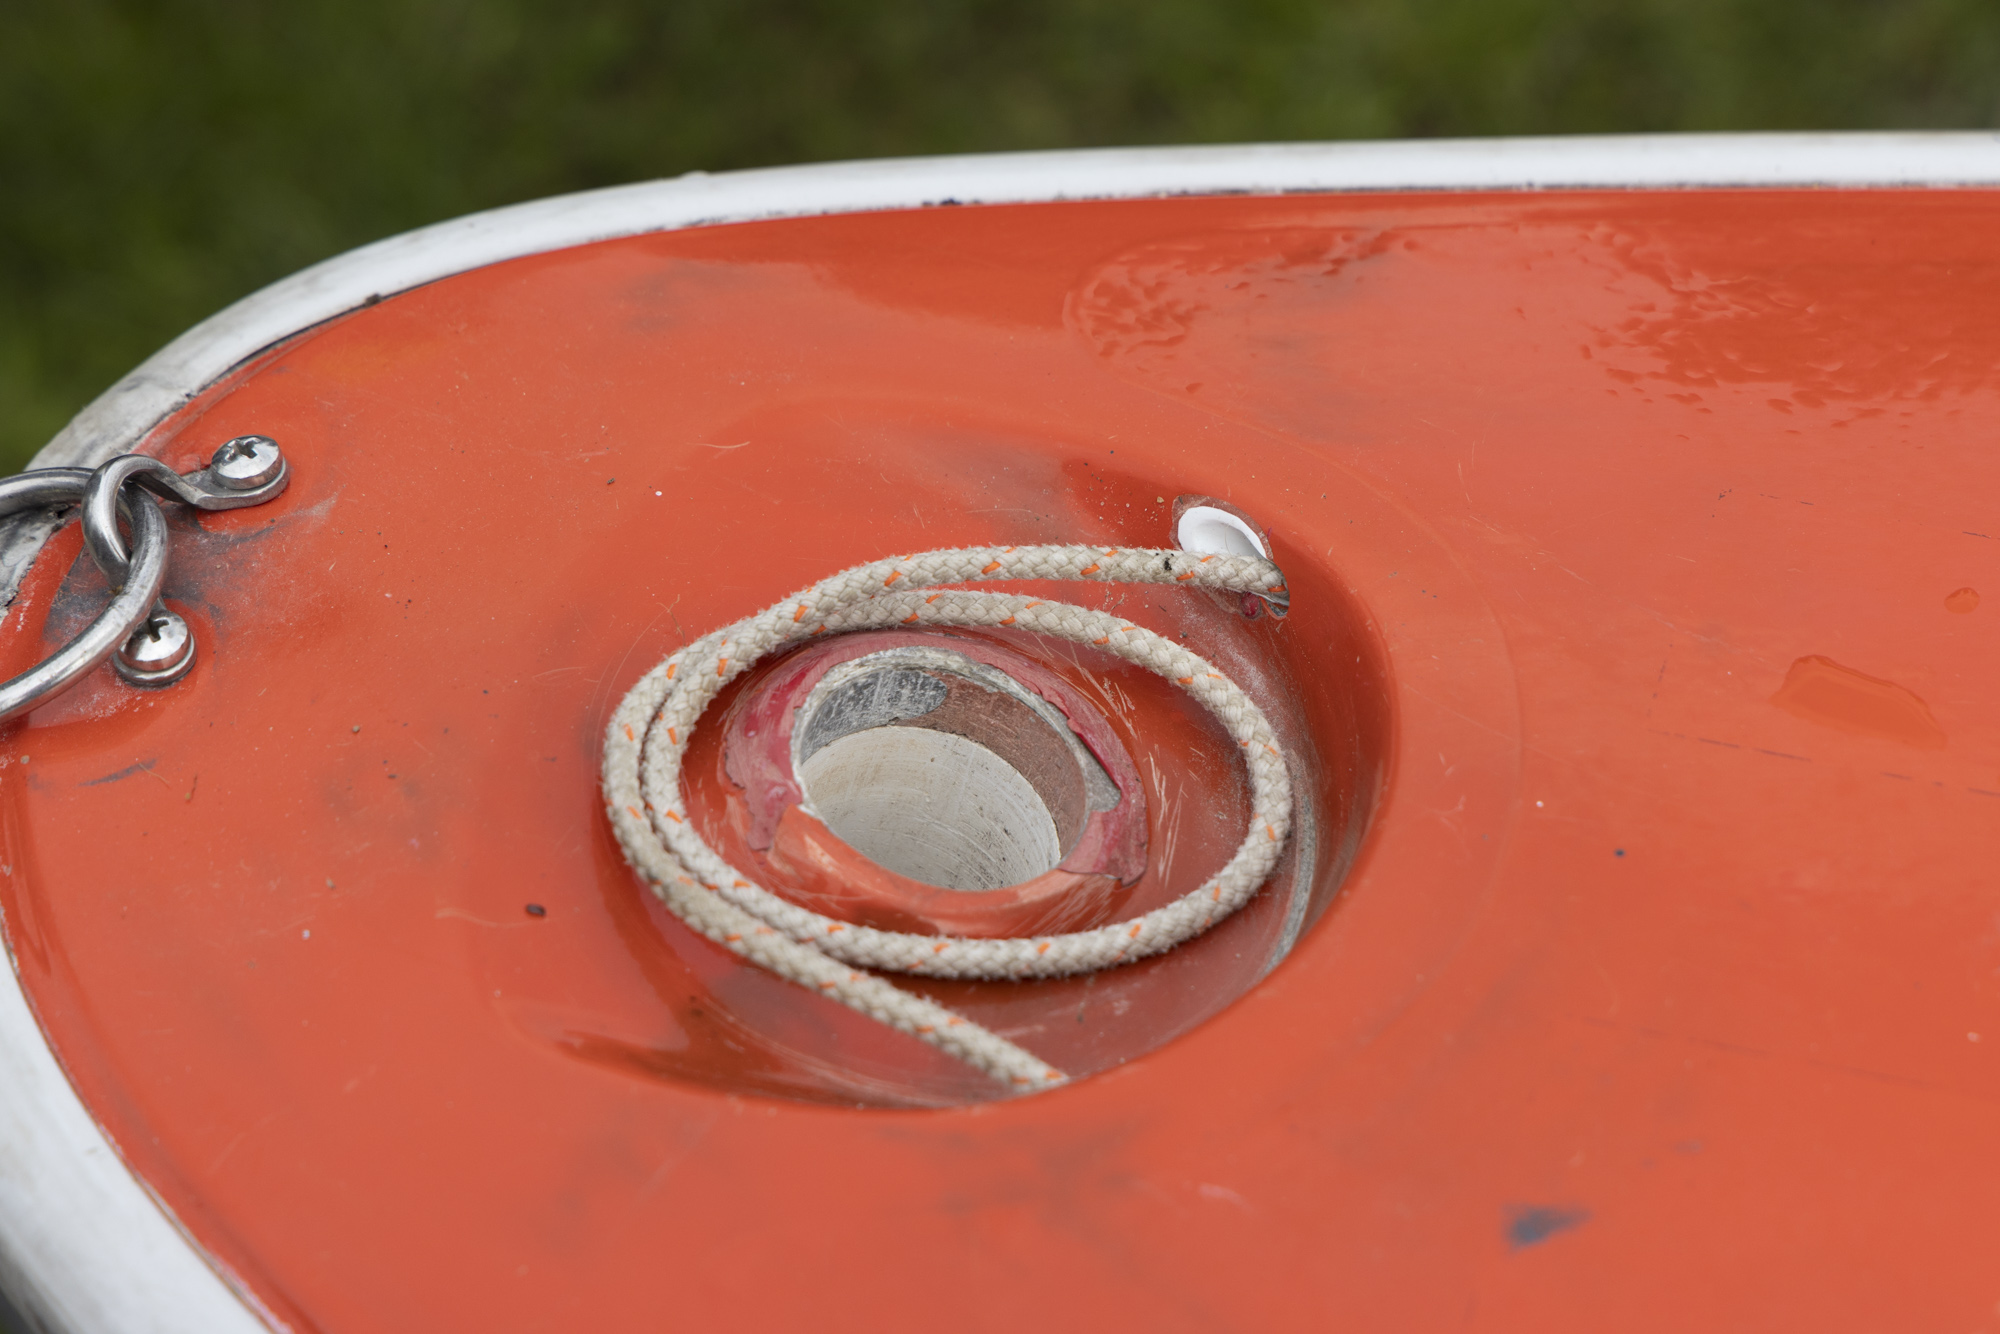
Use the long pin inserted through the centreboard handle and into the console moulding to lock the centreboard down – get someone else to check this is correct and securely fixed

Note: Do not sail unless the centreboard is locked fully down as this risks capsizing and dislocation of the sailor/s and centreboard 


Slide the rudder in, check all the ropes are clear and working
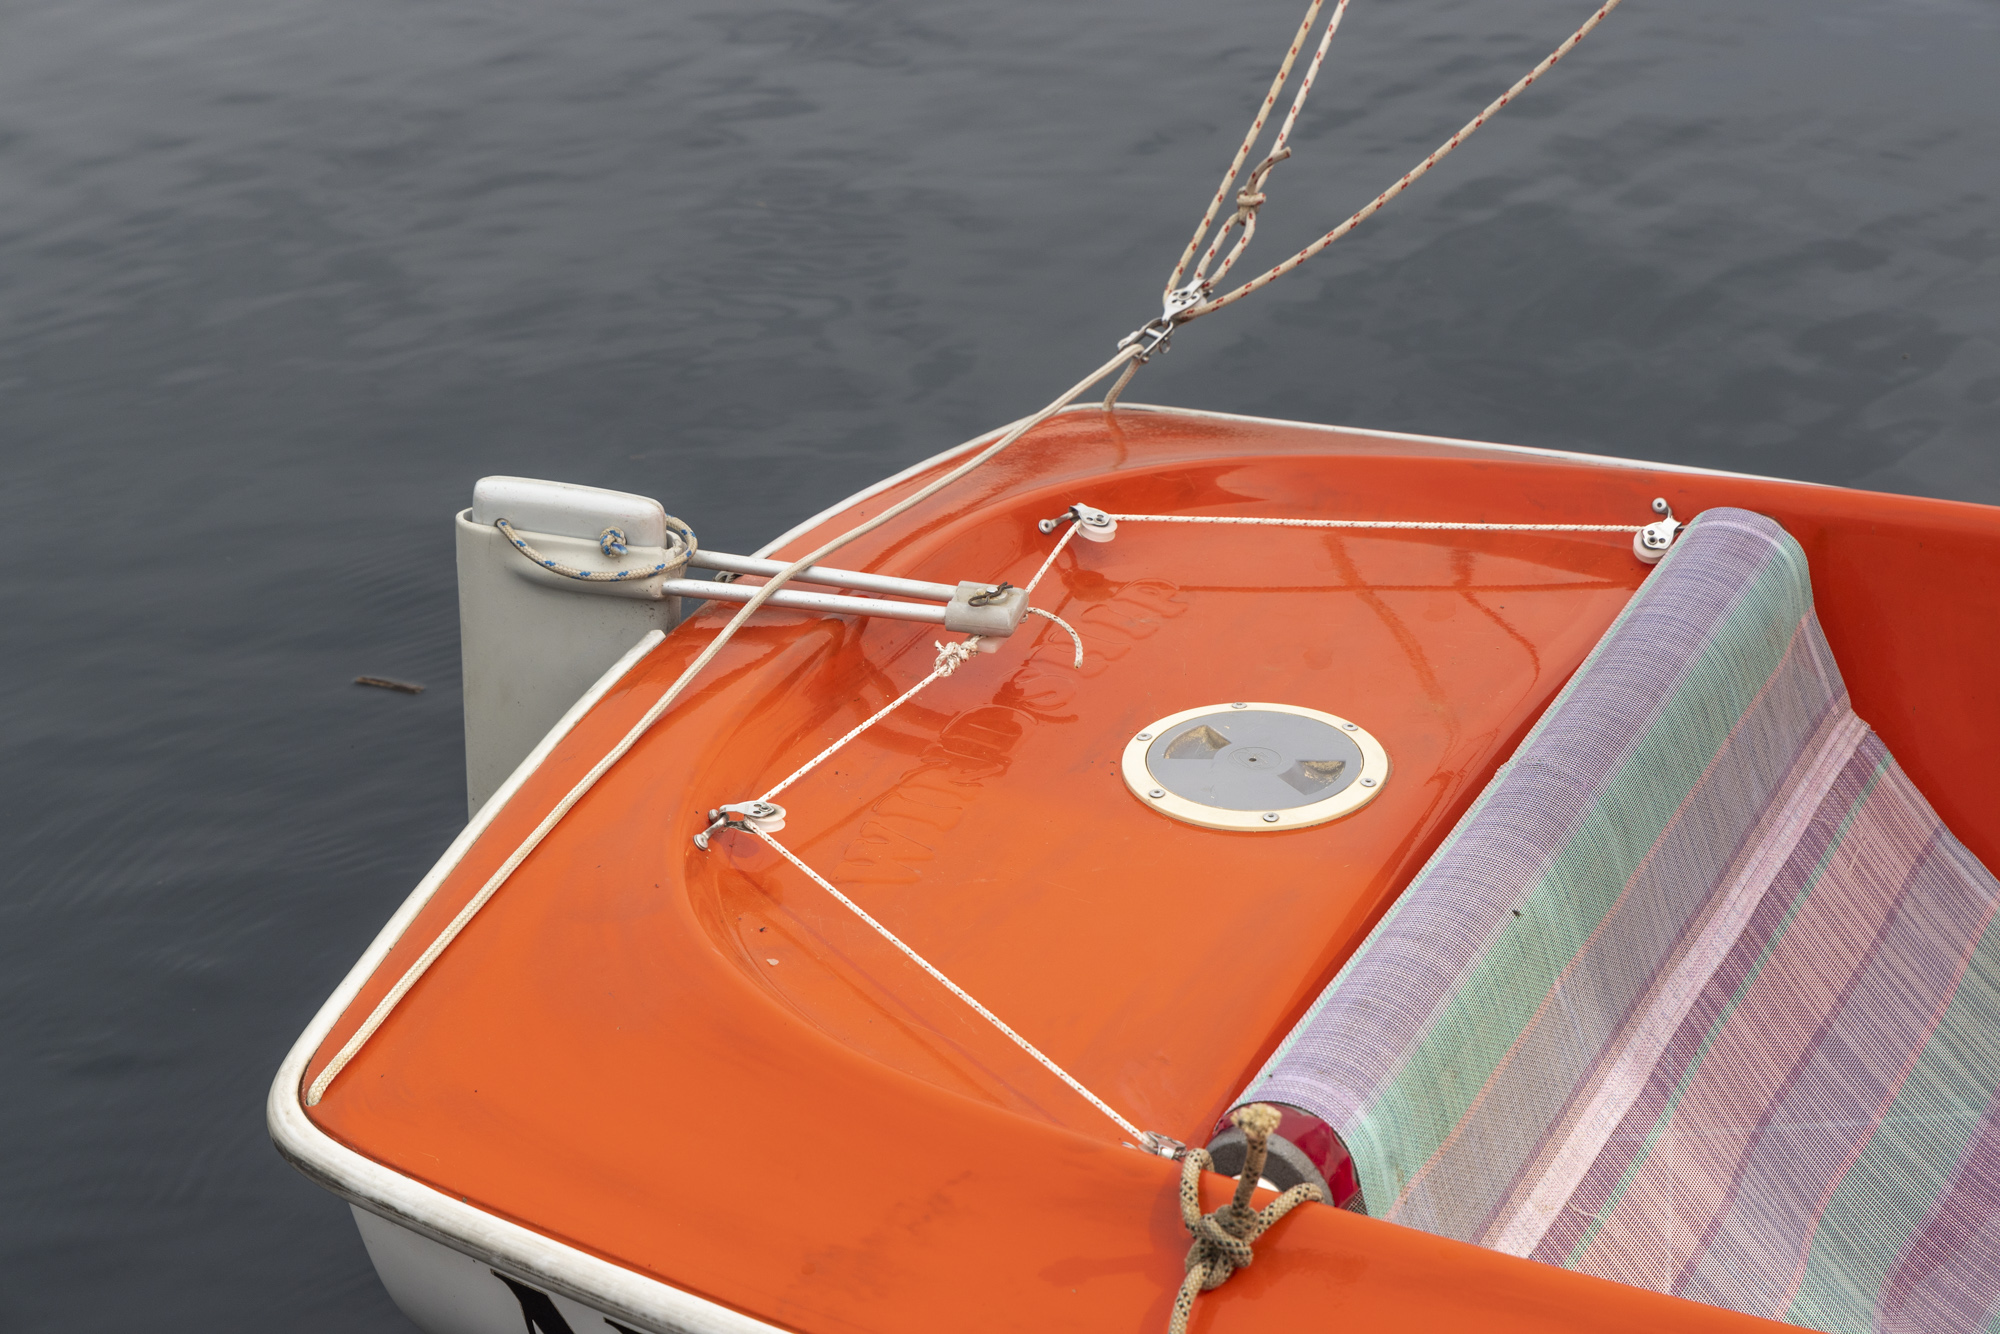
  
  
Website Hosted by Keyhole IT Solutions